Most of the email template tags are self-explanatory in that they simply represent the data in their corresponding entity. Other email tags have calculated, or special values.
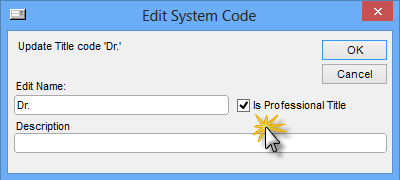
A client's name is made up of 4 parts - A Title, First Name, Last Name and Suffix. This feature relates to the Title part of the name. Client name titles are administered via the System Codes screen.
When titles are marked as "Is Professional Title", the following two email template tags may be used to enhance email communication:
When used in an email, these tags will be replaced with the Title of the client followed by their surname (if "Is professional title" is checked), or just their Firstname/Lastname as appropriate if they do not have a professional title.
For example:
A client's full name is: Dr Robert Jones
If the <<Client_ProfessionalTitle_or_Firstname>> is used in an email template, this will be replaced with Dr Jones.
For other clients that do not have a professional title as part of their name, this tag will resolve to: Robert
Attachment tags are very useful if you work with file attachments for either jobs or actions. Consider using the following tag in all Email Templates that are used for your jobs.
| <<Jobs_Attachments_Links>> | This tag will insert a hyperlink into a HTML email for each attachments that is linked to a job. The hyperlink will point back to the original attachment location, which will be in the "Attachments working folder". Good to use if dealing with large attachments, or you just want a clean and neat out-going email |
| <<Jobs_Attachments_Attach>> | This tag will insert the actual attachment into the outgoing email. Each attachment that is linked to a job will be attached to the outgoing email |
| <<Action_Attachments_Links>> | This tag will insert a hyperlink into a HTML email for each attachments that is linked to an action. The hyperlink will point back to the original attachment location, which will be in the "Attachments working folder". Good to use if dealing with large attachments, or you just want a clean and neat out-going email |
| <<Action_Attachments_Attach>> |
This tag will insert the actual attachment into the outgoing email.
Each attachment that is linked to an action will be attached to the outgoing
email
|
Remember that the attachment tags will only attach the
attachments if they are present in the corresponding job or action.
These tags are used when utilizing the Email Manager. They refer to the original email that was processed to create the job that is being used in the context of the email tag.
If using the HelpMaster web module, the following email tags may be helpful to direct people to your on-line instance of HelpMaster
<<HelpMaster_Web_URL_Homepage>> : The login page for your HelpMaster web
interface
<<HelpMaster_Web_URL_KnowledgeBase>> : The public-facing (no logon
required) knowledge base page
<<HelpMaster_Web_URL_ClientLogon>> : The login
page for your clients. If this points to any page other than the home page
and your clients are enabled for
Active Directory login, clicking this hyperlink will log your client / staff
straight in to the HelpMaster web interface
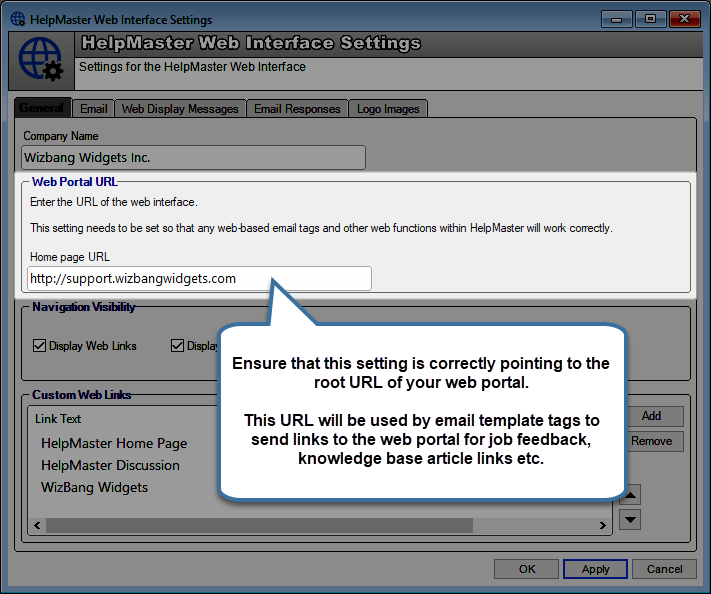
The values for each of these tags is specified in the Web Interface settings screen.
If you are utilizing the job feedback system, you will want to make use of the <<Job_Satisfaction_Survey>> tag. This will be replaced with a link to your job survey/feedback that you've created. Read more about the job feedback system
Consider using the job feedback tag to survey your client on every email interaction, not just when the job is closed.
Sometimes you may want to create a custom web hyperlink from information in the job. This may be useful if using a custom feedback system, or to integrate into other web pages and/or intranets where a custom link is required.
Construct custom hyperlinks by doing the following:
1. In the email template, type the web URL of the website and append any relevant HelpMaster email tags to complete the URL
2. Highlight the entire URL, including the email template tag
3. From the Insert menu, select "Make selected Text into a Hyperlink"
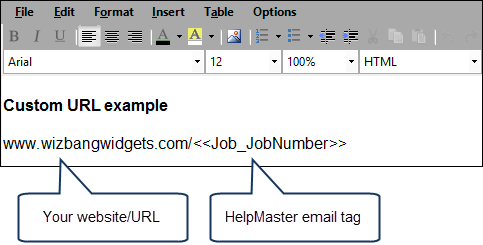
Type your custom URL, and use any HelpMaster email tags that are relevant.
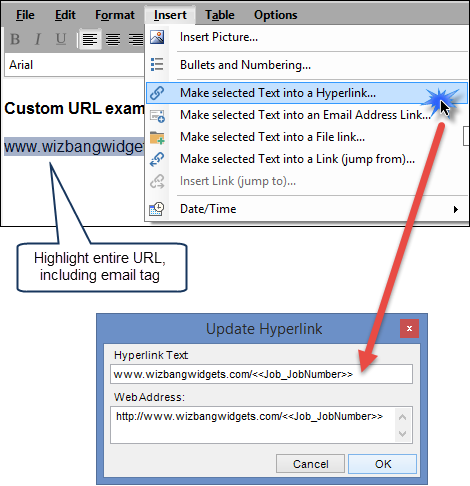
Turn the text into a hyperlink via the "Insert" menu
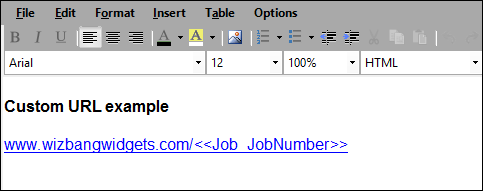
When the email is sent, the tag will be replaced and the URL will be valid
See also
Sending Email from the action screen / updating a job